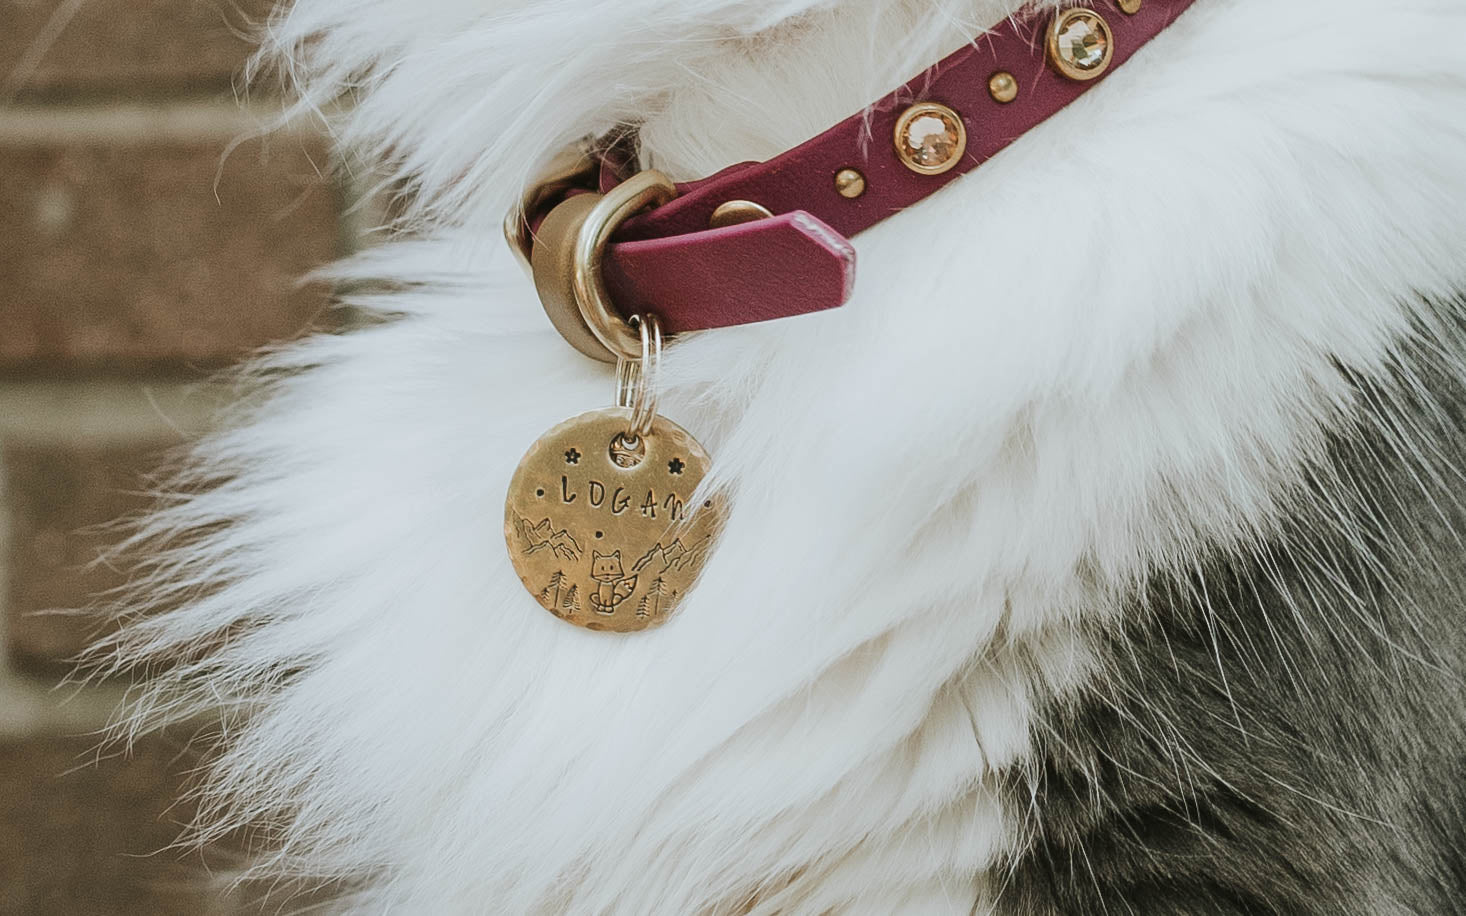
How to Clean Your Metal Dog Tags
Over time, your metal dog tags may begin to tarnish, oxidize, or show scratches. It's part of the charm of owning a metal tag. Copper will patina, brass will darken with age, the aluminum collects dirt and grime... But part of living an adventurous lifestyle means finding gear that lives up to your needs. That is what we are here for!
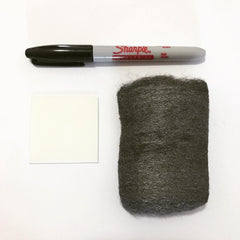 Copper Paws sells a cleaning kit for your metal tags, you can find it here! Your cleaning kit will contain a polishing pad, a fine piece of steel wool, and an industrial sharpie. Take note, the industrial sharpie is meant to last a lot longer than your regular sharpie.
Before you begin the cleaning process, start by setting up your work station. You will want a piece of paper or a paper towel to work on top of because this process gets a little bit messy. You will also need a Kleenex or tissue to wipe off ink and access to a sink for a quick tag rinse or two.
I have selected a few of the tags we have laying around the house as samples for this process. They've been worn on collars for quite awhile without getting cleaned, so they definitely could use a touch up. Here is the "before" photo so you get to see the full transformation:
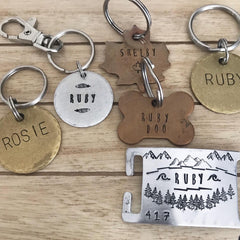
Step 1: Remove the keyring or equipment from your tag and give it a quick rinse off in warm water. (I left the Small Ring Upgrades on a couple of my tags because those are very hard to remove and put back on without a special tool.) You can use a gentle soap, like Dawn dish soap, for this step to clean off the top layer of dirt.
Step 2: Start with the polishing pad from your kit. You can wipe down both sides of the tag to remove the tarnish. This is most evident on the copper and brass tags. These pads can be reused, so if there is still a clean area on your pad, keep it for another use! Alternatively, if you need more than one or have a lot of tags to clean, you can purchase additional pads in our shop; Click here to view the additional polishing pads.
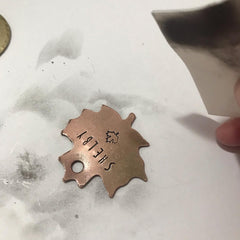
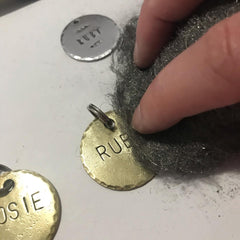
Step 3: Take your steel wool and brush over the tag. You can add some pressure to the wool, it will give the tag a nice matte finish look and help hide any scratching on the tag. The steel wool does make a mess so be sure to do that over your paper station.
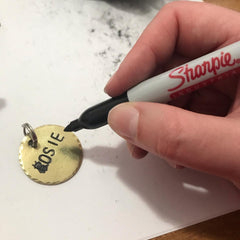
Step 4: Now you're ready to fill in any stamped grooves that have begun to fade. Take your Industrial Sharpie and write over the stamped areas. I like to do it in smaller sections because it comes off easier than doing the whole tag all at once. Once you've written over a stamped area, wait ten seconds or so before wiping it off the tag. Because these Industrial Sharpies are stronger than a regular one, your ink will not come off with just the polish pad or Kleenex. I wipe off the first bit with the Kleenex and then take my steel wool over the area to remove the rest.
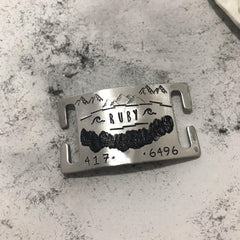
Step 5: Once you've filled in the faded grooves and taken the extra ink off the tag with a Kleenex and steel wool, you're nearly finished! All that's left is to give the tag a quick rinse in warm water to clean off any debris from the cleaning process (no soap needed this time). Then, reattach your key rings and you're good to go!
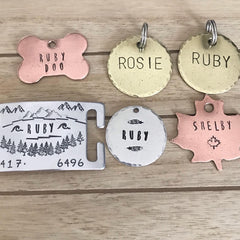
Tags can be cleaned and refreshed as often as needed. The more adventures you take, the more often your tags may need a refresher. There is nothing wrong with cleaning them often! Here is how our tags looked at the end of this process:
If you have any questions, feel free to reach out!
Leave a comment
Comments will be approved before showing up.
Also in Blog

4 Ways Your Pet Can Benefit From CBD
Dog Tag Phone Number Guide

